
A Chef's Guide: How to Make a Sourdough Starter From Scratch
Creating a sourdough starter at home requires just two ingredients: flour and water. However, it also demands patience. This guide provides the exact steps and feeding schedule to cultivate a healthy, active starter ready for baking.
(New to sourdough? First, read our guide on The Benefits of Sourdough Baking to understand the science behind the process.)
Step-by-Step Guide: Creating Your Starter
Ingredients & Equipment:
- Flour (whole grain or rye works best initially)
- Water (filtered or non-chlorinated)
- A clean glass container and a spatula
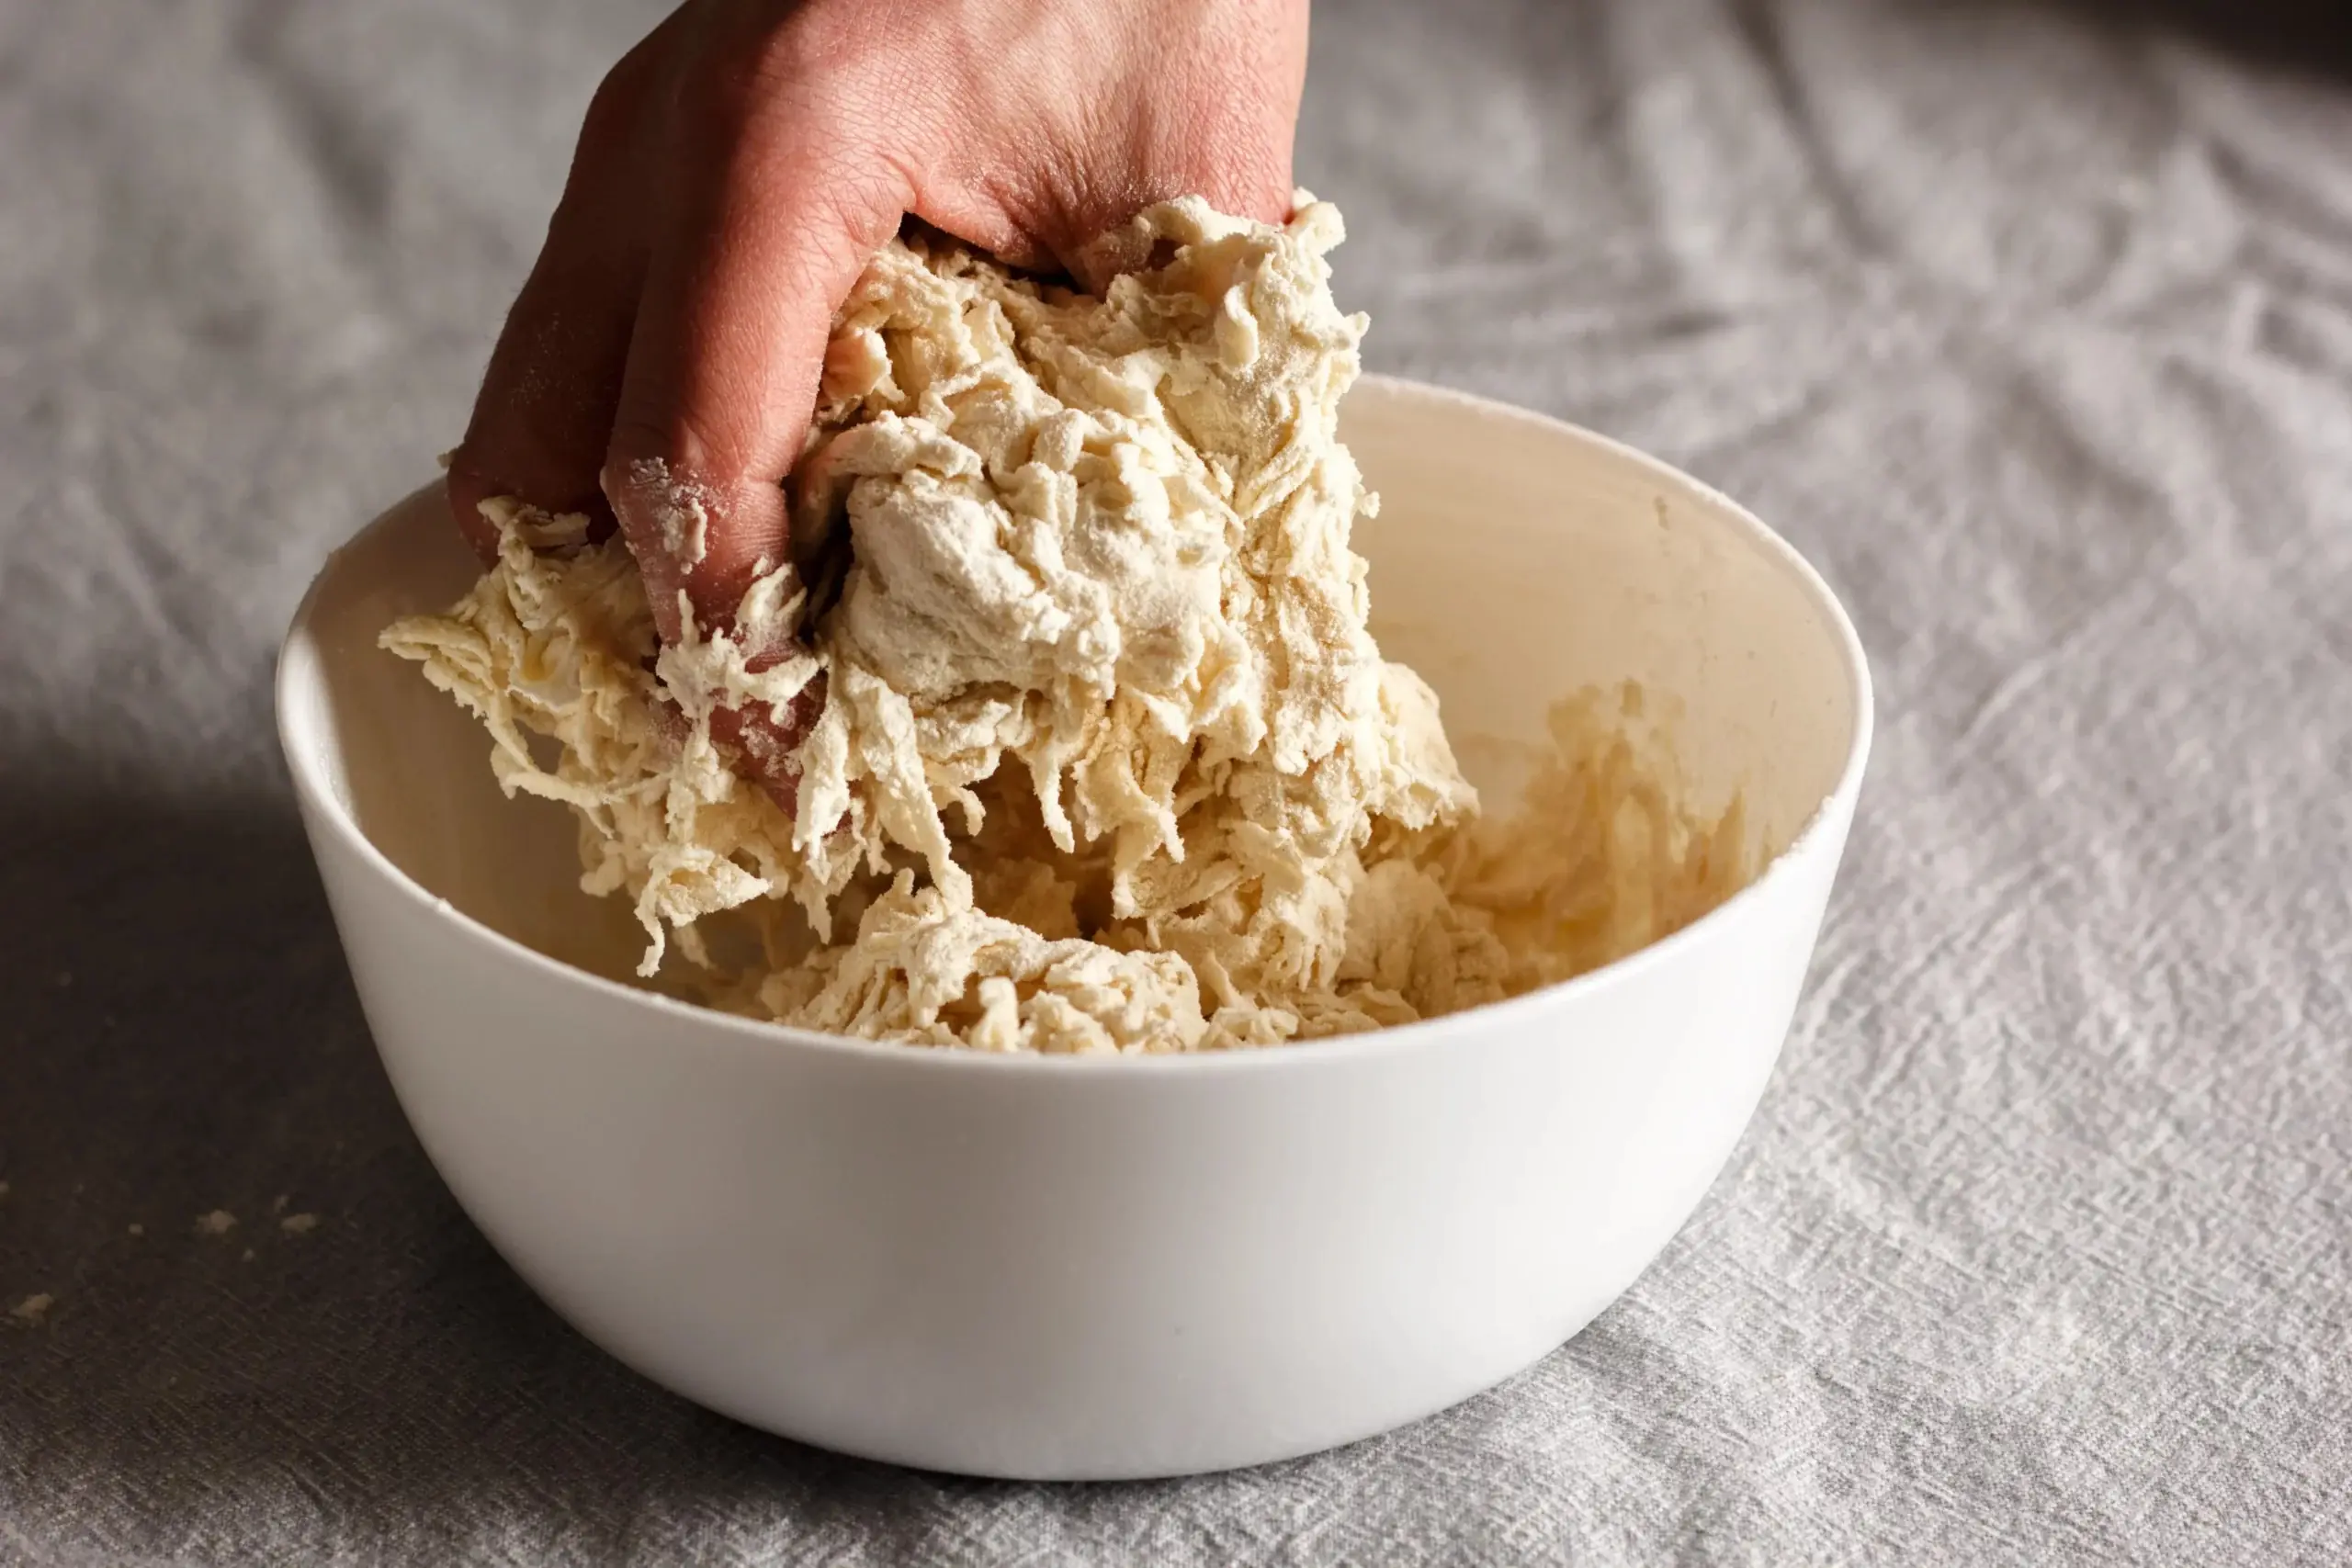
Phase 1: The Initial Mix (Day 1)
In your container, combine 100g of flour with 100g of water. Stir until smooth, cover loosely, and let it sit at room temperature (22-25°C) for 24 hours.
Phase 2: Regular Feedings (Days 2-7)
`
Every 24 hours, perform the following feeding:
Discard all but 50g of the starter.
Add 100g of fresh flour and 100g of water.
Stir well, cover, and let it rest.
By day 3-4, you should see bubbles and notice a tangy aroma.
Phase 3: Is It Ready? (Day 7 and Beyond)
By the end of the week, your starter should be bubbly and double in size a few hours after feeding. To test its readiness, drop a spoonful into a glass of water. If it floats, it’s ready to bake with!
How to Maintain and Store Your Starter
Once active, your starter needs regular care.
- Room Temperature: If you bake daily, keep it on the counter and feed it once every 24 hours.
- Refrigeration: For occasional baking, feed your starter, let it get active for a few hours, then store it in the fridge. It only needs to be fed once a week.
Common Mistakes to Avoid for a Healthy Starter
- Using Chlorinated Water: Chlorine can harm the wild yeast. Always use filtered water.
- Inconsistent Feeding: Underfeeding leads to a weak, acidic starter. Stick to a regular schedule.
- Ignoring Temperature: A cold room will slow down activity, while too much heat can cause over-fermentation. A consistent, warm spot is best.
Your Starter is Alive! What's Next?
Congratulations! You’ve successfully created a living sourdough starter. Now, you’re ready to bake.
➡️ Next Step: Learn Advanced Sourdough Techniques & Our Authentic Neapolitan Pizza Recipe.